
Make your own paper.

Transform scrap and recycled materials into beautiful handmade paper.
In this blog post, we will explore pulp preparation, sheet formation, and drying techniques. This project is suitable for all skill levels and encourages creativity and sustainability while providing an opportunity to craft unique pieces for personal use or gift-giving.
As an artist and printmaker, I find myself with a plethora of cut-offs and scrap pieces of paper. I cannot bear to throw it away as a self-proclaimed penny pincher. I have been collecting scraps and cut-offs of high-end printing paper for years with the intention of teaching myself to recycle these bits and pieces into new, larger sheets of paper to be used in my future art projects.
If you’re more of the watching type rather than the reading type, check out this short video of the process and check back here for details.
Benefits of Handmade Paper
By repurposing discarded materials, you reduce waste and minimize your ecological footprint. The process allows for the creation of unique textures and patterns, resulting in one-of-a-kind sheets that can enhance any artistic project. Additionally, crafting this paper provides endless opportunities for creativity, as you can experiment with different fibers, colors, and inclusions, leading to truly personalized and eco-friendly art.
What you’ll need
Tools:
Blender or Food Processor (it is best to acquire a blender separate from one you use for food preparation)
Screen or Mould (fine mesh or window screen) and Deckle (to shape the paper). I have linked one option here and instructions for building your own here (video) and here (blog post).
Sponges (for soaking and pressing)
Dishes or Tubs (for soaking pulp)
Materials:
Scraps of Paper (for pulp)
Water
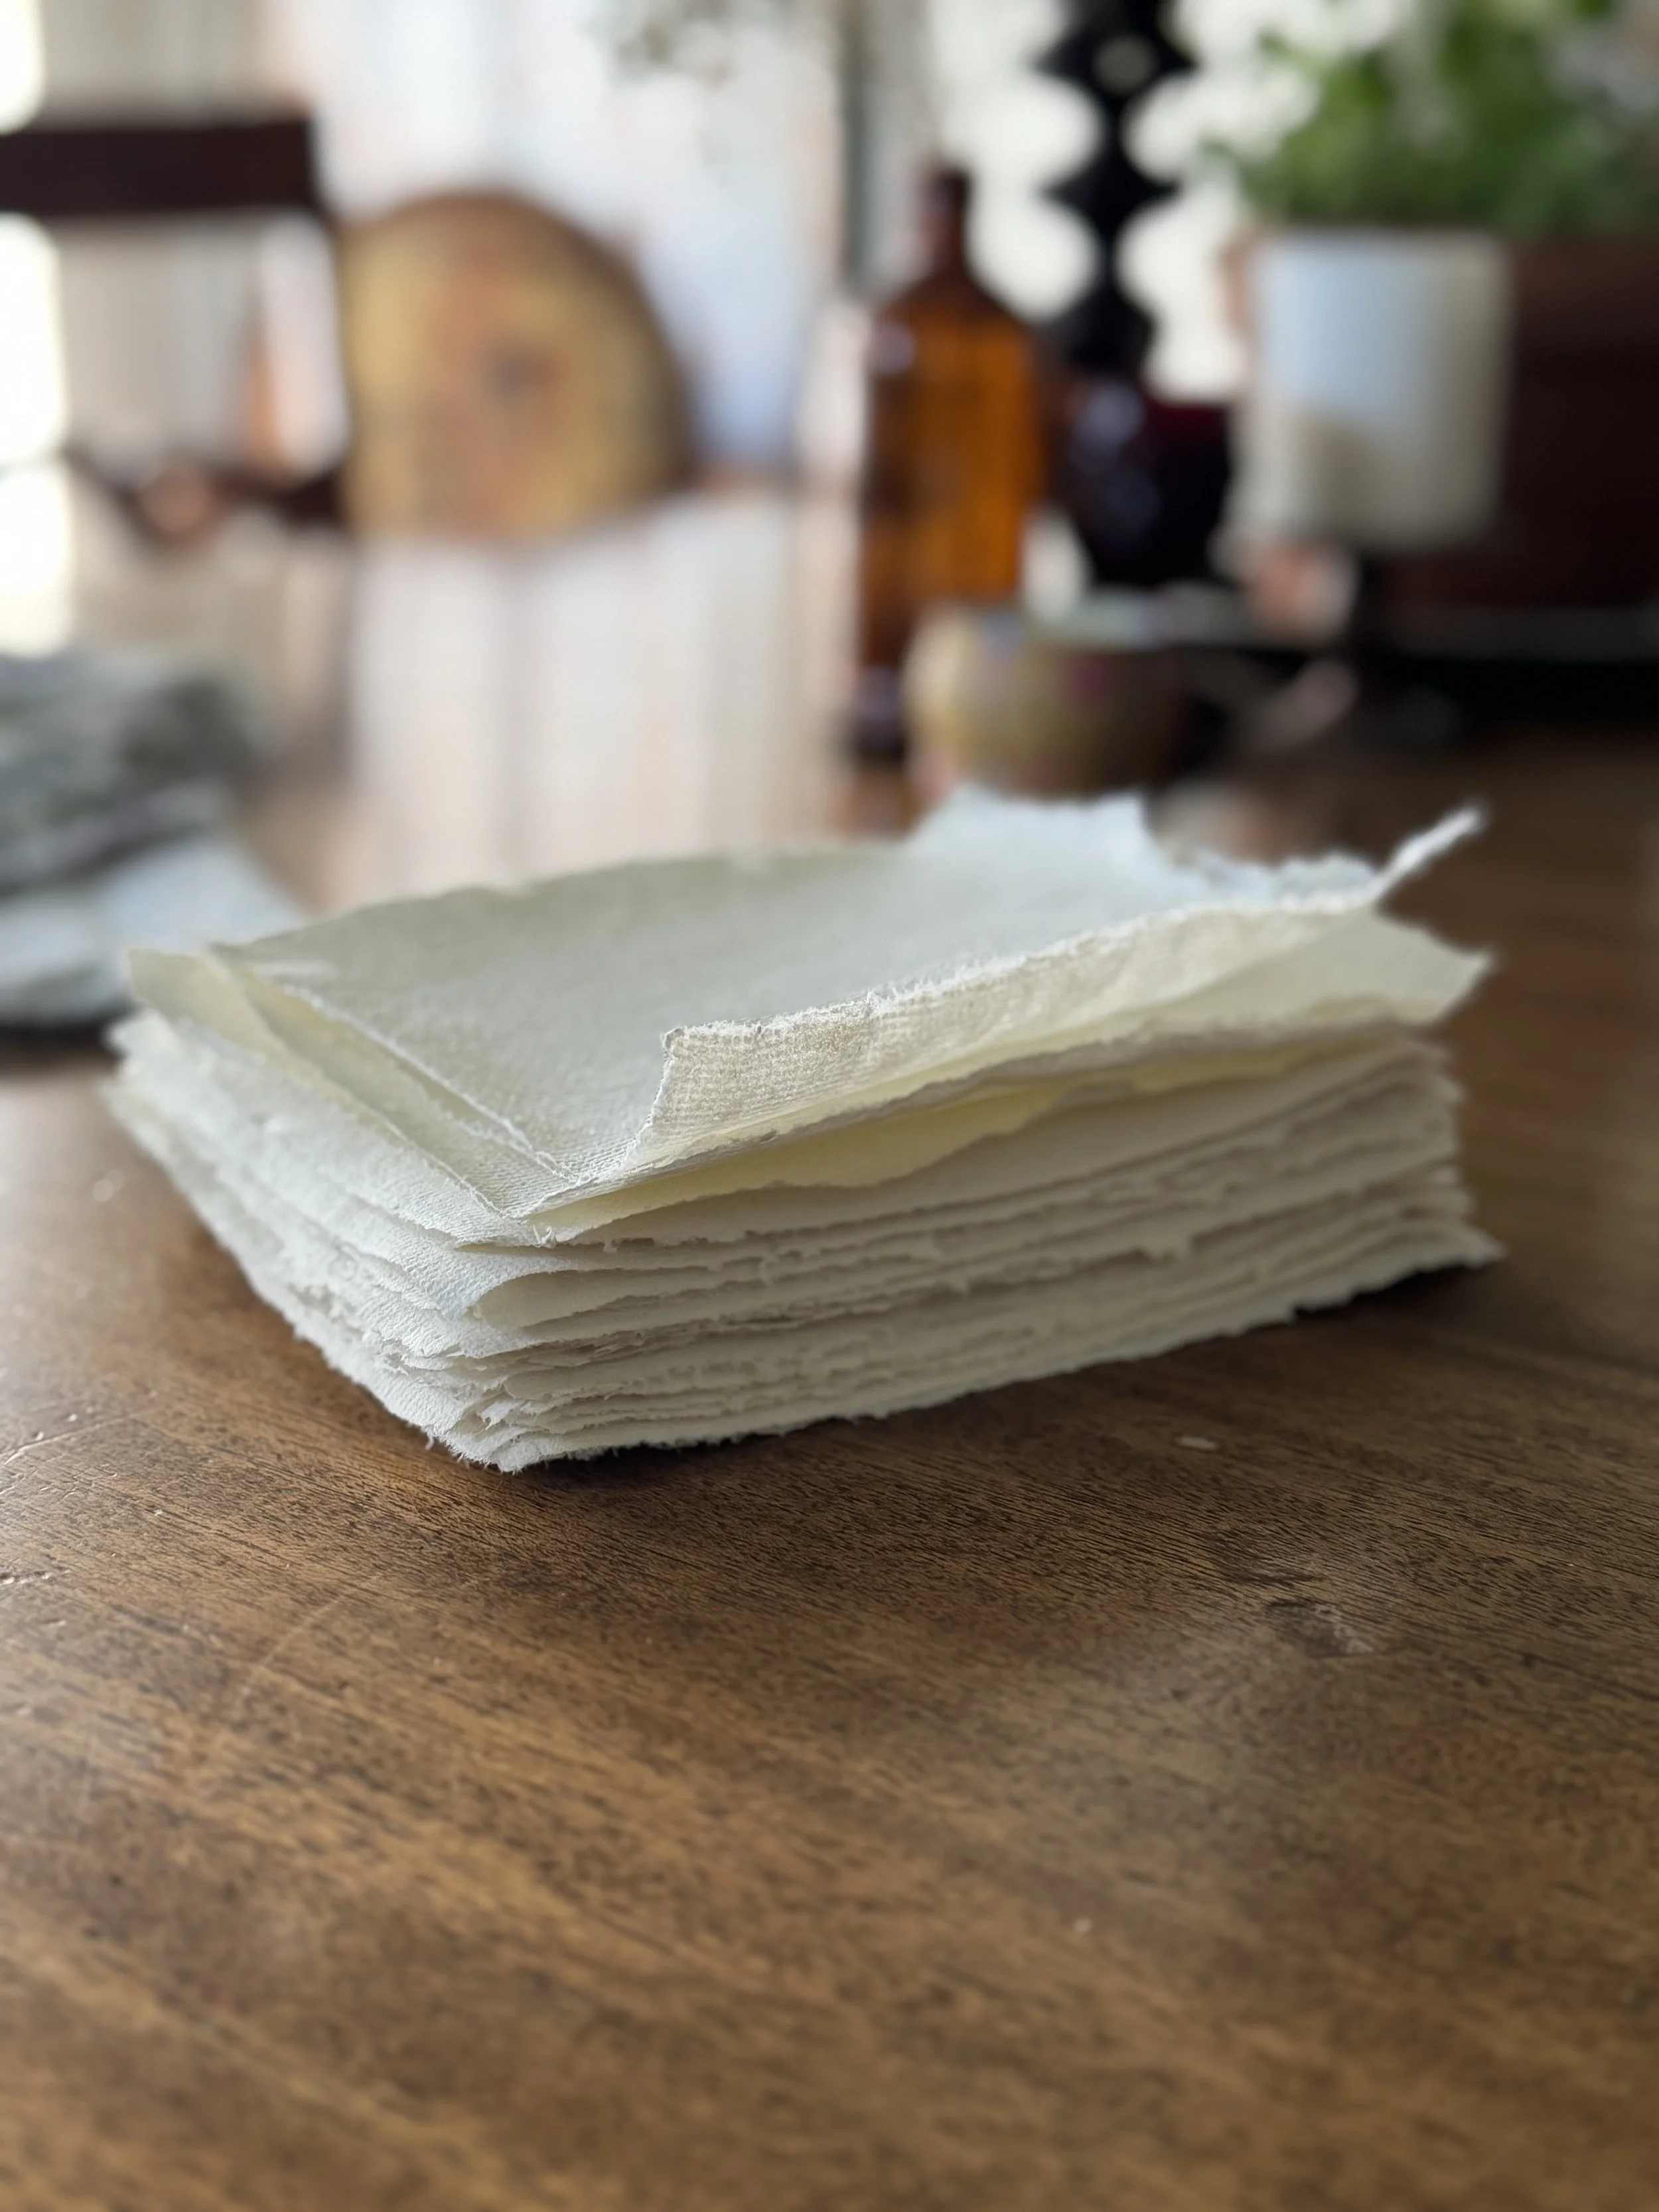
Fabric or felt pieces (for turning sheets out of the mold and drying) I tore up pieces of an old sheet for this purpose.
Coloring Agents (natural or synthetic dyes or pigments, optional)
Additives (flower petals or seeds, glitter, natural fibers optional)
Step-by-Step
Guide to Making Paper
Gather Your Tools & Materials
See the list above
Preparing the Pulp
Tear bits of scrap paper into small pieces
Place in a bowl or container and cover with water
allow to soak for at least 2-3 hours, overnight is preferable
Once the paper has been given ample time to soak and soften, place a couple of handfuls in your blender and add water. The water line should be at least an inch or two above the pulp to ensure plenty of room for movement in the blender.
Blend bits of paper until a soft pulp is formed and you can no longer see solid bits of paper in the blender.
Remove pulp from the blender and place it in a container or jar.
Forming the Paper using the mould and deckle method
Fill a large tub with water. You’ll want this container to be large enough to allow you to quickly and smoothly submerge your mould and deckle.
Add a few handfuls of pulp to your tub of water. The water-to-pulp ratio will determine how thick or thin your newly formed sheets of paper will be. The more pulp you add to your water, the thicker your paper. You will have to experiment with this to make your paper to a weight of your liking.
Use a spoon or your hand to stir the pulp into the water. You want the pulp floating and swirling in the water, not settling to the bottom.
It is at this point that you’ll want to add in any additions to your pulp, examples being:
flower seeds
dried flower petals or herb leaves
pieces of natural fibers
sawdust or wood chips
tiny bits of colored paper or shavings from crayons or pencils for a confetti look
glitter
Pigments for adding color to your paper, options include natural dyes, such as beet or turmeric, and synthetic pigments.
Essential oils to introduce a pleasant scent
Flaxseed Gel: Enhances softness and flexibility of the paper.
Cornstarch: Acts as a binding agent to improve the strength and durability.
Beeswax: Provides a water-resistant quality to the finished paper.
As soon as you stir up the pulp (and optional additives) in the water, grab your mould and deckle and submerge them into the tub at a 45-degree angle. Level them out and lift them straight up. The water will drain through the mould's screen, and the pulp will settle onto the screen.
Couching the Sheet (transferring the wet sheet to a flat surface)
Once the water has drained off, set the mould and deckle onto a flat surface and remove the deckle. You will be left with your newly formed sheet of paper on the screen.
Move the mold to your stack of fabric/felt sheets and flip it onto the surface of the fabric paper side down.
Use a sponge or absorbent towel to sponge away excess water and press the newly formed sheet of paper into the couching sheet.
Carefully start to lift the mould off the coaching sheet. Your paper pulp should stick to it.
Drying the Paper
Place your couching sheet with paper pulp somewhere it can fully dry undisturbed.
Sheets can be hung on a line or laid on a flat surface. I have even seen some makers stick them to a window. The method you choose is a personal preference influenced mainly by the space in which you work.
I laid mine flat on a table to dry, which worked great, but I believe hanging the sheets on a line so that air circulation on both sides would allow for much faster drying.
Tips for Beginners
Inconsistent Pulp Fibers: If your pulp is not smoothly blended, your paper may have lumps or thin spots. Ensure you allow your paper scraps to soak thoroughly before blending; overnight is best. When blending pulp in the blender or food processor, scrape down the sides and blend multiple times to ensure scrap pieces do not stick to the sides. These unprocessed scraps can cause lumps in your newly formed paper sheets.
Incorrect Water-to-Pulp Ratio: Remember to continue adding pulp to your water tub to maintain the water-to-pulp ratio. Otherwise, your sheets of paper will be inconsistent in thickness. Add pulp after every two or three sheets of paper you create.
Wash the screen/mould clean and try again. If you pull your screen out of the water and the pulp has not settled evenly, don’t worry. Just submerge it again to remove the pulp and try again.
A screen/mould that is too fine: If you choose to build your own mould and deckle rather than purchase one and have trouble removing the paper pulp onto the couching sheet, you may have purchased too fine a screening material. Ask me how I know.
It’s an experimental process: Please don’t take this project too seriously if your paper doesn’t turn out as you had hoped. Tear it up and make it into pulp again. Getting the pulp ratio and consistency of paper you like takes time, and you likely won’t get it perfect on the first try.
Handmade paper offers a unique and personal touch for various applications, from crafting journals and cards to creating bespoke art projects. By engaging in this ancient practice, you not only connect with a sustainable art form but also gain the opportunity to express your creativity. I encourage you to try making your own paper and explore its versatility in your projects. If you try creating handmade paper, I’d love it if you’d share your experiences. Your creations could inspire others to embark on this rewarding adventure too!